How to make an animated tour announcement
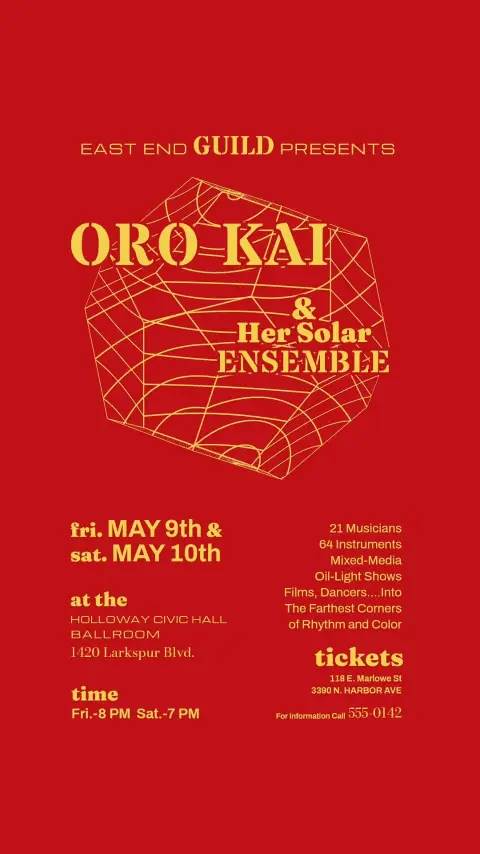
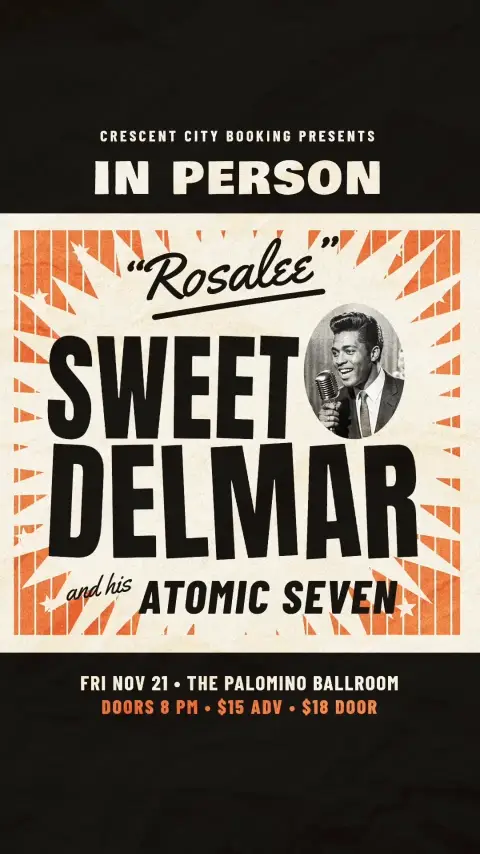
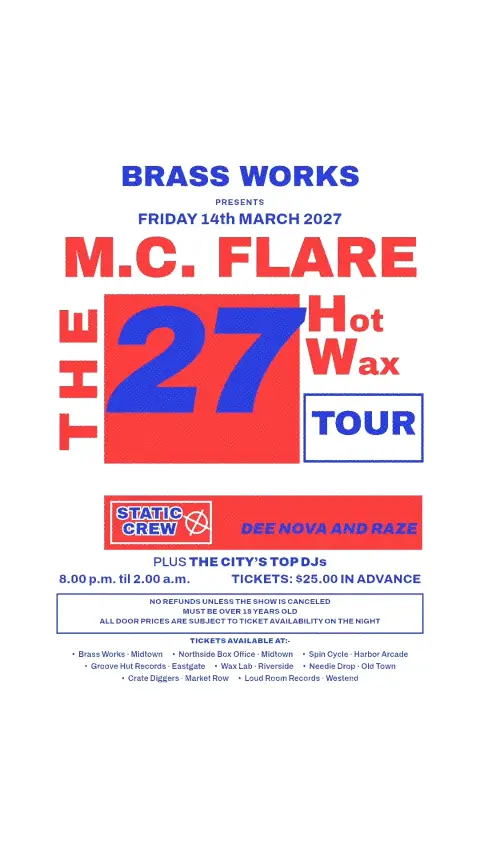
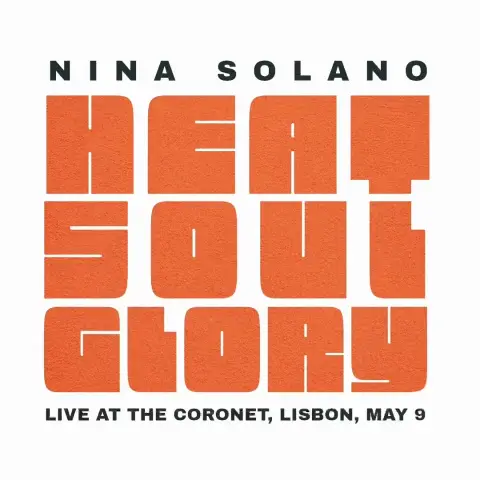
A tour announcement has one job: get every date, city and venue in front of fans in a few seconds, in a post they stop scrolling for. Motion and your own music are what make them stop.
Making it in Motiontone
- 1
Start
Open any template from the gallery and make it your own, or start from a blank canvas. You can begin without an account.
- 2
Dates
Replace the artist name, dates, cities and venues, then add the ticket line. If the design lists the dates in a table, import them from a CSV file instead of typing them. A Bandsintown export is recognized automatically.
- 3
Reveal
Give the table a cascade, and the dates appear one row after another instead of all at once.
- 4
Song
Upload the track. Motiontone finds its beat, and any property can move with it: a scale that pulses on every beat, or a glow that follows only the Bass, Mids or Highs. Trim the song to start at the part fans know best.
- 5
Motionbot
Describe the motion you want and Motionbot, the built-in assistant, animates it. Every change it makes stays editable, keyframe by keyframe. Try "reveal the dates one at a time on the beat".
- 6
Sizes
Add artboards for an Instagram post (4:5), a story, reel or TikTok (9:16) and a square. They share one timeline, so every size moves together.
- 7
Regional versions
Add an artboard for each leg of the tour, such as Europe or North America, and list only that region's dates on it. Fans see the shows near them, and every version keeps the same song and timing.
- 8
Safe zones
Turn on the social media safe zones to see where the TikTok and Reels buttons and captions will sit over your design, and keep your text clear of them. They only show in the editor, never in the video.
- 9
Export
Export an MP4 for each size and post it.
- 10
Updates
When dates sell out or new ones are added, duplicate the project, mark the changes and export again. The design, the song and every size come with it.